Do It Yourself – Website Tutorials
In this tutorial you will learn easy way to design your home in 3D online
Don’t forget to check out our site http://howtech.tv/ for more free how-to videos!
http://youtube.com/ithowtovids – our feed
http://www.facebook.com/howtechtv – join us on facebook
https://plus.google.com/103440382717658277879 – our group in Google+
In this tutorial you will learn easy way to design your home in 3D online.
Want to visualize your home-improvement plans?
We have good news. You don’t need to hire expensive designer for that, just use our tutorial.
Step 1. Go to http://www.homestyler.com
Step 2. In the upper right part of the page, click “Join Now”.
Enter your data to create your new account. Alternatively, you can sing up using your Twitter, Facebook or other online account. Check the list of possible singing up options on the left.
Now your account is created. Sign in to your new account. The website would redirect you to the page where you have to enter your details. Do so.
Step 3. After you’re done, click “Create New Design”. You’re now ready to design your room or entire house!
We will start big and design our house
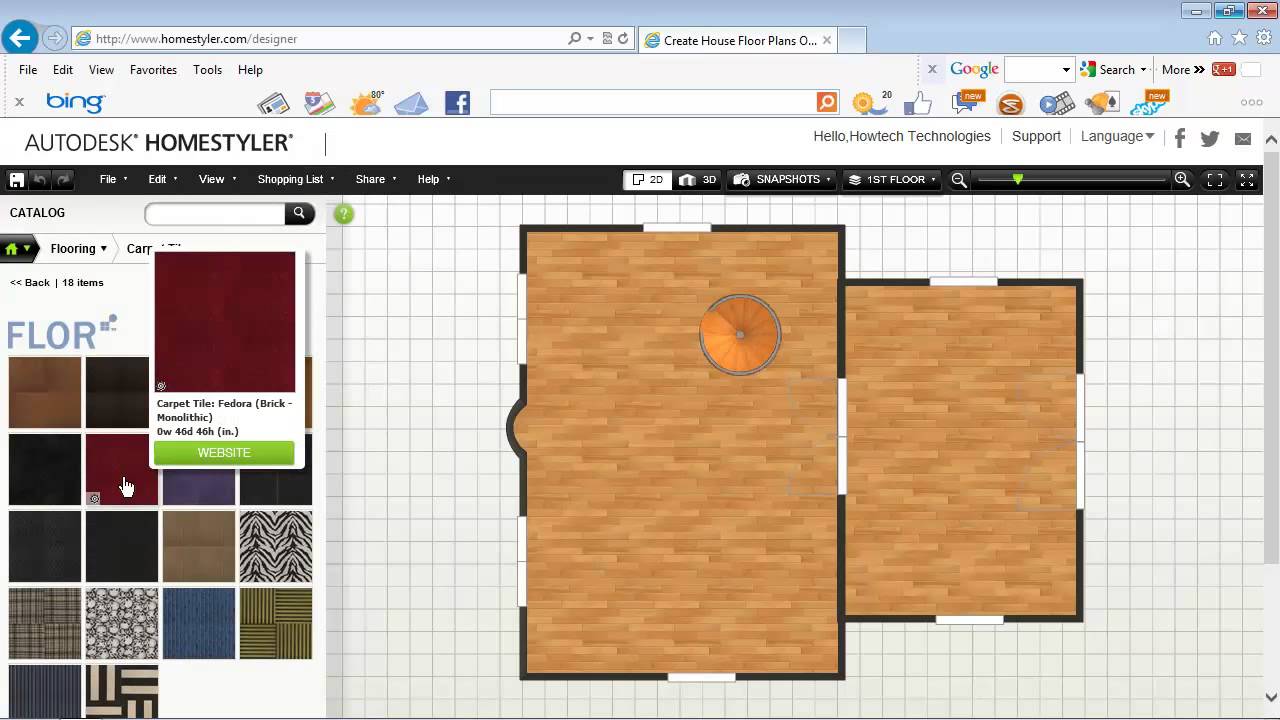
Step 4: From the “Catalog” section on the left you can pick different house elements. We will start with ” Rooms.” By dragging walls of the room, you can change its’ height and width. You can play with your rooms by adding “Room Additions”. We’ll make our big room with curved wall as addition.
Step 5: Now let’s design the second floor. From the drop-down menu in the upper website part, choose, “Add level”
We’ll call it ,expectably, “2nd floor.”Define the properties of your new level and click “Save”.
We’ll have just one room on the 2nd floor. That’s a small house, just for one couple
Step 6: Now let’s add basic details.
Click on little green house button in the upper left corner. You’ll be offered many design options, including “Build”, “Decorate”, “Furnish”, Landscape &Outdoor”.
We will start with making doors and windows We shouldn’t forget about stairs if we want to get to our second floor! Don’t forget that such details are important.
Ok, we’re done with the basic house structure.
Step 7: Now let’s decorate the house. Look at “Decorate” by clicking on the same little house button. And from the decoration options choose the one you want to start with.
Oh! It’s time to switch to 3D view to see our decoration in process. In the upper menu click “3D” button.
In the similar way, by choosing different items from Decoration menu we will enrich our little house with everything we need for comfortable living.
Sometimes the program will ask you to switch back from 3D view to 2D view. Do so when needed.
Step 8: Finally we’re done! But not completely. We need to see how our house will look in its surroundings.
Click again on little house button and from
“Landscape and Outdoor” select, say, “Define Landscape Areas”. We’ll put now grass around our house.
Result: Are you ready? You have now successfully designed a house in 3D
source

