Do It Yourself – Website Tutorials
Procedure to Make Stickers in WhatsApp using iOS devices (iPhone/iPad)
If you are an Android user looking for the tutorial then please check this video: https://www.youtube.com/watch?v=IIBT-3IWeHE
Let me divide the whole tutorial into 4 simple steps to create WhatsApp stickers using iPhone/iPad.
1. Removing the background of the image using a simple online tool.
2. Downloading and installing the sticker maker application.
3. Creating the required stickers and adding them to WhatsApp.
4. Sharing the created WhatsApp stickers with your friends.
Now let me start with the first one. Removing the Background of the Image.
To remove the background of the portrait image, you can either use the built-in tool of Sticker maker app or just use this online tool to remove picture background of any portrait image. Firstly, choose the images of minimum 3 to convert them as stickers. Now open safari web browser then visit remove.bg website. This website will remove the background of the image using AI technology easily for free. To do that, choose Browse, then choose the picture. That’s it. Look at the final image then save it to the phone. Repeat the same steps for the other 2 images.
Now we have our images ready. Now let’s download the WhatsApp sticker maker app for iPhone or iPad.
Open Appstore then Search for Sticker Maker for WhatsApp then download the application. The icon of the app looks the same as shown in this video.
Sticker Maker for WhatsApp: https://itunes.apple.com/us/app/sticker-maker-for-whatsapp/id1229012980?mt=8
Once downloaded, open it then choose ‘Tap to Start’.
In this screen, you will find Explore, Create and Settings tabs.
You can use these created stickers which are in the Explore category and to create choose ‘create’ then tap on this + icon at the top.
You will be asked to enter the sticker pack name and the publisher name. Enter whatever you like and I’m going with TechEmpty for both.
Now you need to add the images to create WhatsApp sticker pack.
To do that, tap on the first slot then choose Gallery, pick the no background image that we created before using remove.bg website.
Once you see the image in the work area, you can add the frame or effects to the photo. You can even resize, rotate or zoom in the image at this step.
Next, you can add text, remove background which is a built-in tool, add emoji and crop the image as you need.
Once you feel good, tap on this check mark at the top to save the image to the sticker pack.
Let me do the same for the other two images because you need to add at least 3 stickers to share with WhatsApp.
Finally, tap on Add to WhatsApp and Choose Save.
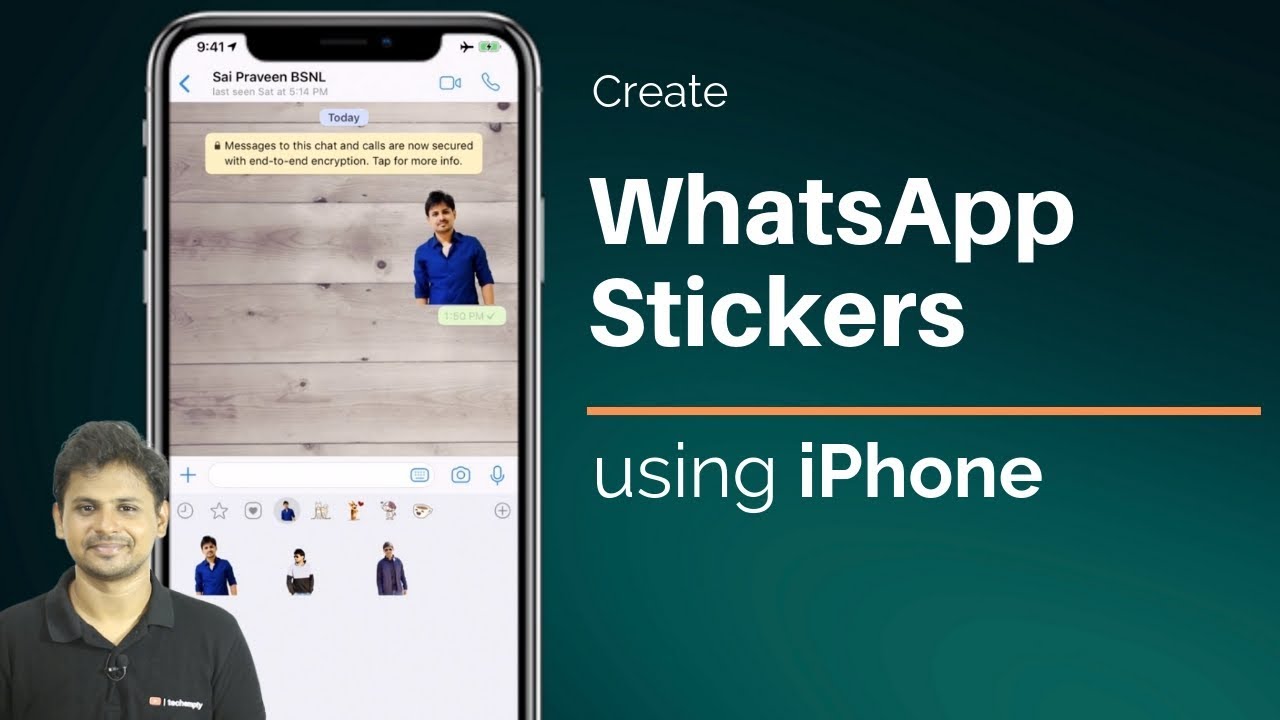
Now open WhatsApp for iPhone then choose any contact that you would like to share the created WhatsApp stickers. Tap on the sticker icon and here you will see all the stickers you just created.
You can even share the created WhatsApp sticker pack with your friends. Just choose Share Pack then choose the service that you would like to share with. The receiver will get all the images with no background and they need to import those images by following the same procedure. Isn’t it cool?
Subscribe to TechEmpty at https://www.youtube.com/user/techempty?sub_confirmation=1
**Stay Connected with Sai Praveen**
Facebook: https://www.facebook.com/imsaipraveen
Twitter: https://twitter.com/mesaipraveen
Google Plus: https://plus.google.com/+techempty
Website: https://techempty.org
source

