WordPress For Beginners Tutorials and information. We source some of the best tutorials online to help you manage your wordpress website.
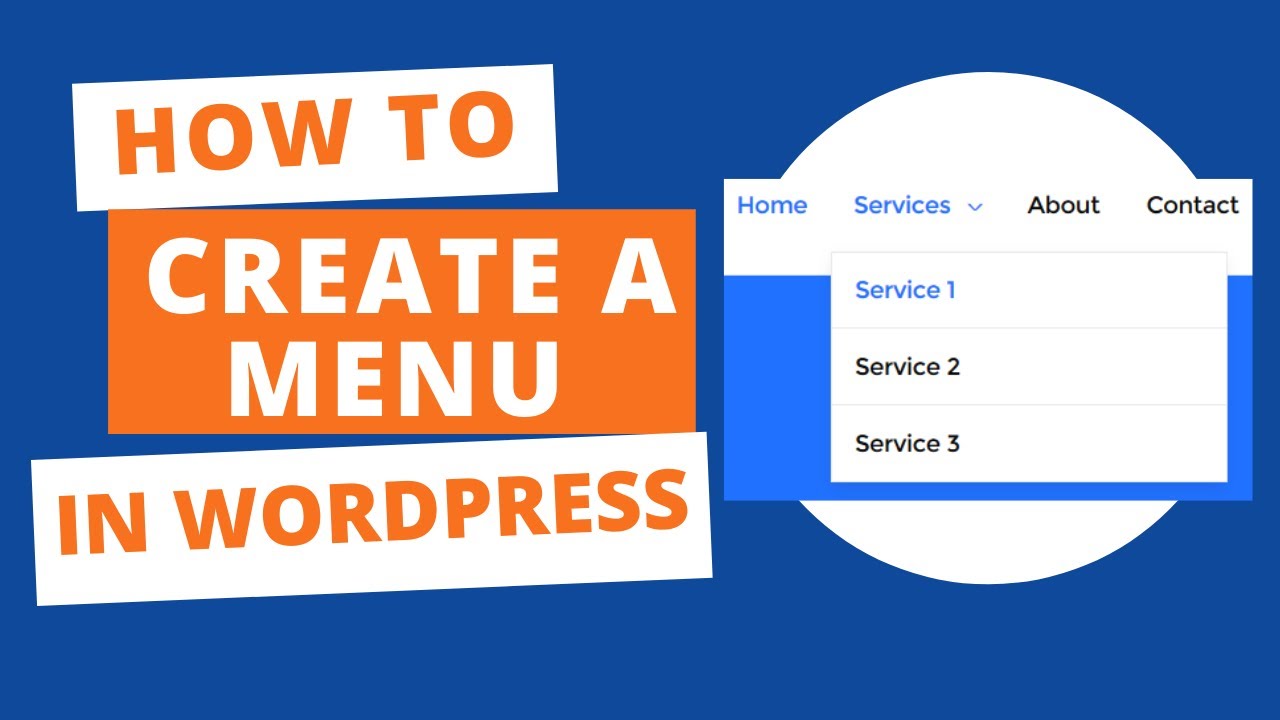
In this step by step tutorial, I will show you how to create a menu in WordPress and how to add a drop-down menu.
Menu is a list of standard links that are usually displayed as the main navigation for your site.
It allows you to add pages, blog posts, custom links, and categories.
1. Create a simple menu
To create a menu in WordPress Just go to Appearance
and then click on Menus in your WordPress admin area.
Edit Menus screen is divided into two columns.
The column on your left has your pages, categories, and custom links tab.
The column on the right is where you add and adjust menu items.
2. Add custom links to menu
To add custom links
Simply click on the custom link tab in the left-hand column to expand it.
Now add the URL
And Link text
Then click Add to menu button
This will add custom link to menu structure
3. Add Categories to menu
To add categories to menus,
Simply click on the Categories tab to expand it.
Select the categories you want to add to the menu, and then click on add to menu button.
4. Delete and rename menu items
To delete items from the custom menu.
click on each page’s small arrow to the right.
You’ll see a few details about that page and the Remove button down below.
Click on it, and that item will be deleted.
For rename menu items:
Click on their current name and change it.
5. Create a Drop-Down Menu
Drop-down menus are also known as navigational menus with parent and child menu items.
When a user takes their mouse to a parent item, all their sub-menus are displayed.
In your menu structure, drag the menu item just below the parent item.
6. Add menu to website
To add a menu to theme locations
1. Scroll to the bottom of the menu editor window.
2. In the Theme locations, click the checkbox for the location where you want your menu to appear.
Generally, menus are located in the primary menu
Click Save menu once you’ve made your selection.
source

