WordPress For Beginners Tutorials and information. We source some of the best tutorials online to help you manage your wordpress website.
Are you finding it difficult to install WordPress in your cPanel?
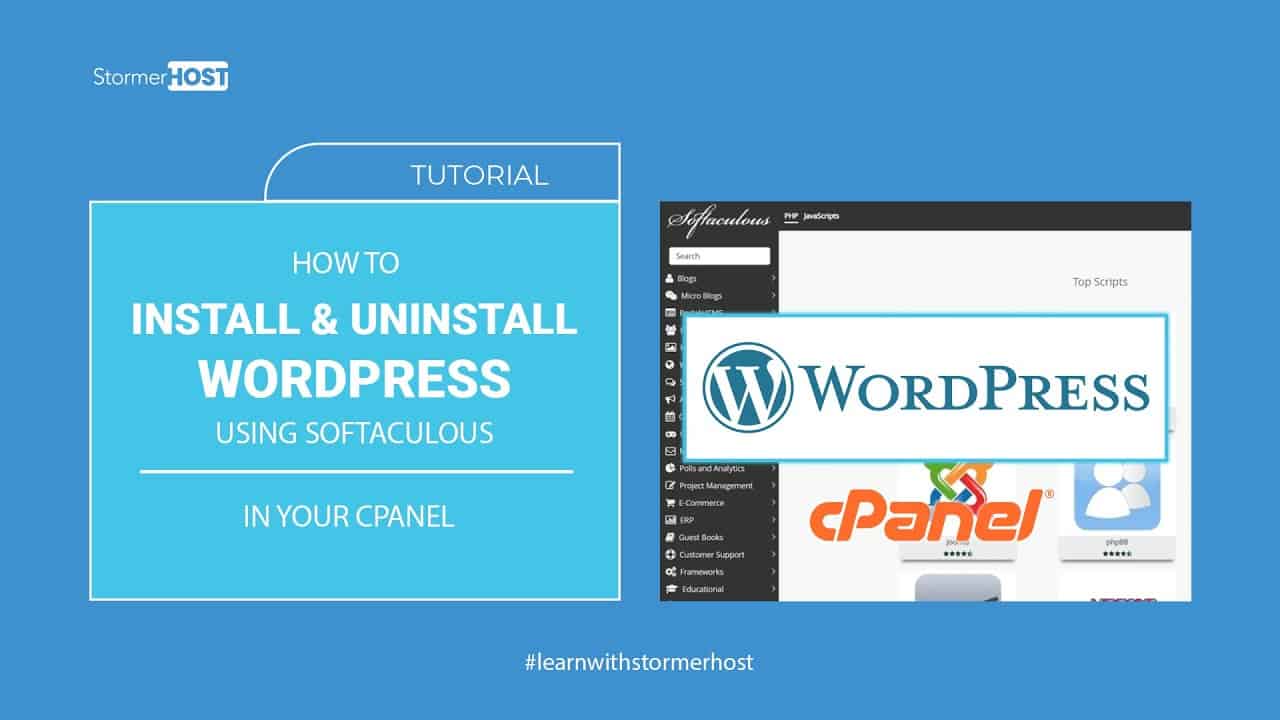
In this tutorial I will walk you through how to install and uninstall WordPress in your cPanel using the Softaculous App Installer.
Step 1
Login to your cPanel. This takes you to the cPanel Dashboard Interface. Scroll down to the SOFTACULOUS APPS INSTALLER section. Click on WordPress.
Step 2
Click on Install below the WordPress. In the “Software Setup section”, choose your Installation URL i.e. the domain name you want to install your WordPress on. After that, move to the “Admin Account section” on your right and Create your Admin Username, Password and Email. It is highly recommend you change the default admin username and choose a secure password to protect your WordPress website from hackers.
Enter your Site Name and Site Description under the “Site Settings Section” on your left. Details you provide can be updated later in your WordPress dashboard after installation.
Scroll down to the Bottom and click on the Install. Wait for the Installation to complete
Step 3
After the Installation, you will receive your Administrative URL. i.e. the URL you will be using to login into your WordPress dashboard.
Click on the Administrative URL, under the Congratulations Message. This logs you in straight to your WordPress dashboard without requesting for password.
To access your WordPress dashboard later, simply add /wp-admin to your domain name, in my case that will be “shostdemo.com/wp-admin”. This will take you to the login screen where you enter your username and password.
You can check your new website by entering the domain name used for the WordPress installation in your browser. Your WordPress site should be live now.
HOW TO UNINSTALL WORDPRESS IN YOUR CPANEL
For the second part of this tutorial, I will walk you through how to remove your WordPress installation using Softaculous
Step 1:
Login to your cPanel.
Step 2:
Scroll down to Softaculous app installer and click on WordPress. The Softaculous App installer dashboard shows.
Step 3:
Move the cursor to the Menu on your top right corner and click on All Installations icon. This shows a list of all your installations detected by Softaculous.
Step 4:
Click on the Delete/Remove icon in the list of options provided next to the domain you want to remove the installation from.
The next page gives info on what will be removed if you proceed. Please proceed with caution since the next actions are irreversible.
Scroll down and click on Remove Installation
Click Ok on the prompt.
Your installation will be removed after this.
Step 7: You can confirm your installation has been removed by checking the website in your browser. You will see your WordPress is successfully uninstalled.
This brings us to an end of today’s tutorial
Thanks for watching this tutorial. If you have any questions you can call our support line or send us a message on our website and don’t forget to like and subscribe to our channel.
STORMERHOST.COM
Music: bensounds.com
source

